
I can tie an obi, but only in the "bunko knot." I want to master a more sophisticated way of tying it, and I want to be able to tie it in a different way! But tying an obi is difficult, so I can't do it!
Although many people seem to give up, the basic way to tie an obi is the "bunko knot," and to customize it, all you need to do is modify it a little.
The basic "bunko knot"

The basic obi tying technique is to take about 60cm of the end of your hand and fold the hanging end inwards to form a ribbon. It is a neat and beautiful obi knot.
① The "ribbon knot" is simply a change in the folding method of the bunko knot.

The double-layered wings create a voluminous and cute bow. The arrangement is very easy! We'll explain it with photos.
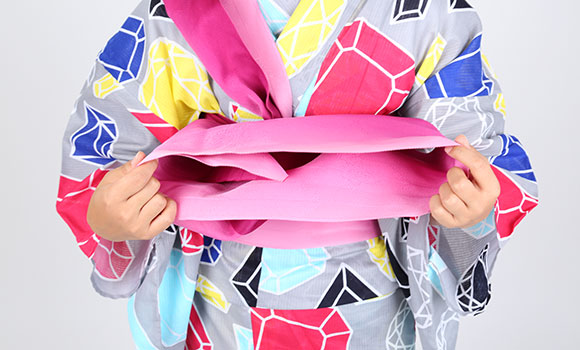
The difference between the "bunko musubi" and the "ribbon musubi" lies in how the end of the obi, called the "taresaki," is handled. With the "bunko musubi," the end of the obi is folded inward, as shown in the photo.

To tie a ribbon, simply fold the end of the paper that you folded inward when tying the book, in a zigzag pattern, like folding a folding screen!
② Finally, just pull the ribbon over to hide it! A sophisticated "unique bunko knot"

At the end of tying the ribbon, you would normally fold the end and hide it inside the obi, but this time you spread it out again over the ribbon. Since the knot is hidden, you can easily disguise it. This is the perfect obi knot for those who want a more sophisticated look.
The "shell mouth knot" is convenient when going to the theater or sitting on the train
The "kai-no-kuchi musubi" is another basic obi tying method.
The same method as men's obi tying

It's easy to see from the side, but because it can be tied flat, it doesn't get in the way when you're working, and it's been used by many mothers who do housework for a long time. Personally, I recommend using an obijime or something similar to secure the knot in place, as the knot tends to droop.


When tying the opening of the shell, modern obi are long, so it may be difficult to finish the end, but the key is to weave it inside so that the appearance does not get ruined.
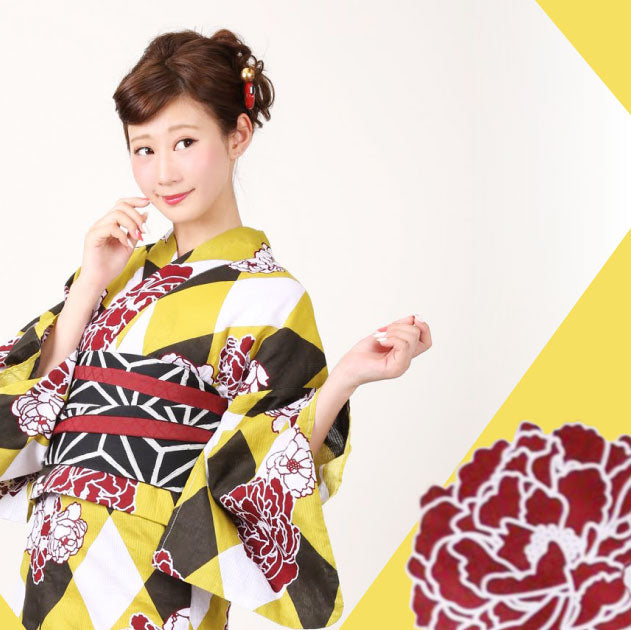
This obi knot is perfect for a clean-cut or stylish, simple yukata.
Here are some handy yukata items!
① Belt-attached belt

You can tuck it in afterwards, but if it has a rubber band, you won't have to worry about it slipping off and falling down! When you turn the obi around your back, it won't rotate with the band, and you can just slide it around.
② Clothespins

When you start wrapping, you rest your hands on your shoulders, but as you wrap, your hands may slip down, right? If that happens, keep your hands on the collar. Be careful not to let the collar come undone!
In addition, if you use clothespins to hold the obi in place not only at the tips of your hands but also at the beginning of the obi wrapping, you can wrap it without it slipping down.
③Hand towel

By the end of the festival, you'll see many women with their obi hanging down and dangling in mid-air. It makes you want to fix them all.

In such cases, you can use a hand towel to prevent the obi from drooping. Roll up the hand towel and place it in the place where you have folded the tip of your hand, then place the knot of the obi on top of it.

Now you can look beautiful in your yukata from morning until night ♪ Furthermore, if you wear an obi-jime, the obi will be fixed in place and will stay in place even better!
Please give it a try!
[Supervised by: Kanako Shimazaki, who wears kimonos]
Other popular articles you might want to read :

Popular retro-modern patterns stand out with the color of your yukata!
Stays put and is easy to walk in♪ A little trick for yukata

How to choose and coordinate a yukata that won't fail you!

It's not just fireworks! 2016's fun and great events to wear in a yukata - Dates & Fun Outings Edition

It's not just fireworks! Enjoy the fun and great events of 2016 when you go out in a yukata - Strolling around Japanese art!


